Single and Multiple Image Preview in React Application

In this article, We will see how to create image preview in React application for single and multiple image upload. We will create a basic React application to show the same.
URL.createObjectURL()
The URL.createObjectURL() static method creates a DOMString containing a URL representing the object given in the parameter. The URL lifetime is tied to the document in the browser window on which it was created. The new object URL represents the selected File object or Blob object.
we will use this method to get the image preview URL in our sample React application.
Syntax
const objectURL = URL.createObjectURL(object)
object: It is a Blob, File, or MediaSource object. It creates an object URL.
Return value: A DOMString consists of an object URL that is mainly used to reference the contents of the specified source object.
Create a Sample Application
Install basic React app using CLI
Run the below command to generate a new React application
npx create-react-app image-preview-react-app
Move to project folder with command cd /image-preview-react-app and install bootstrap with below command:
npm install bootstrap --save
Import bootstrap CSS file into App component
Add below line of code at the top of src/app.js file
import React from 'react';
import '../node_modules/bootstrap/dist/css/bootstrap.min.css';
......
.......
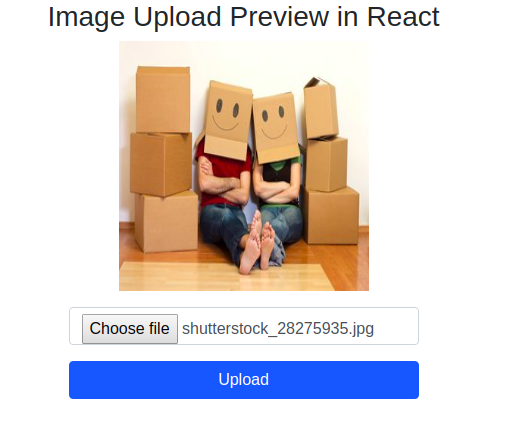
Create Component for Single Image Upload Preview
Create a component file named multiple-image.component.js inside a newly created folder components inside src and put below code in it.
Below task has been done in above code:
- HTML form is created with an input field and react event is added to HTML attributes.
- state variable is defined for the input field.
- Selected image file information is updated to state with metho uploadSingleFile()
- Inside render function, imgPreview variable is used to set the image preview url after selection by the user.
Now import the newly created component into App Component
Run the app
over terminal, run npm start and check the app on browser. It will look like below

Create another Component for Multiple Image Upload Preview
create another component file named multiple-image.component.js inside components folder and put below code inside it.
for (let i = 0; i < this.fileObj[0].length; i++) {
this.fileArray.push(URL.createObjectURL(this.fileObj[0][i]))
}
{(this.fileArray || []).map(url => (
<img src={url} alt="..." height="250" width="250"/>
))}
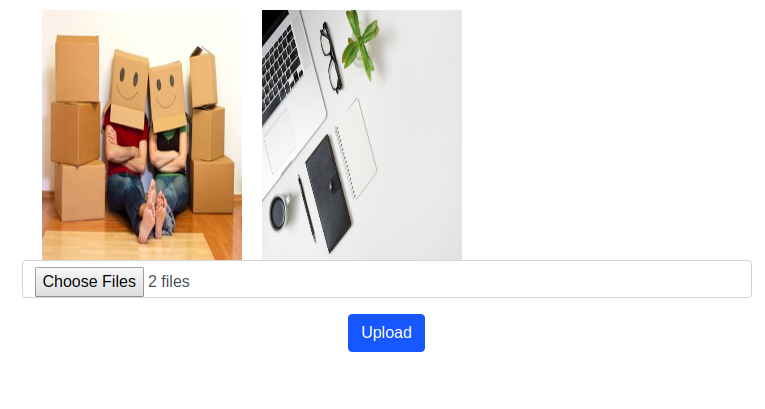
Below task has been done in the above code:
- Defined fileObj array variable, for storing the image temp data
- Below the push image temp data into fileObj array, fileArray variable is created for storing image preivew urls in the array using URL.createObjectURL() and with the help of map function the images have been previewed to render part.
Run the app
After running the app over terminal, it will look like below

Conclusion
In this article, We learn how to perform Single and Multiple Image Preview in React Application.
I hope this article helped you. You can also find other demos/articles at React.js Sample Projects here to start working on enterprise-level applications.
Let me know your thoughts over email pankaj.itdeveloper@gmail.com. I would love to hear them and If you like this article, share it with your friends.
Thank You!
Find other similar Articles here:
- What are the Different way of using useEffect in React
- How to Get URL Parameters in Reactjs Application
- How to Convert React Web Application to Mobile Application
- React + Fetch - HTTP GET Request Examples
- What are the Different ways to Style React Component
- Client Side Rendering vs Server Side Rendering in Reactjs