Login with Git and Microsoft in Reactjs Application

Hello everyone, today we will proceed to create a demo to login with github and microsoft in reactjs application. If you dont have idea how to create basic react app, you can go to my previous article in reactjs group. You can also download the basic react app code from the previous article.
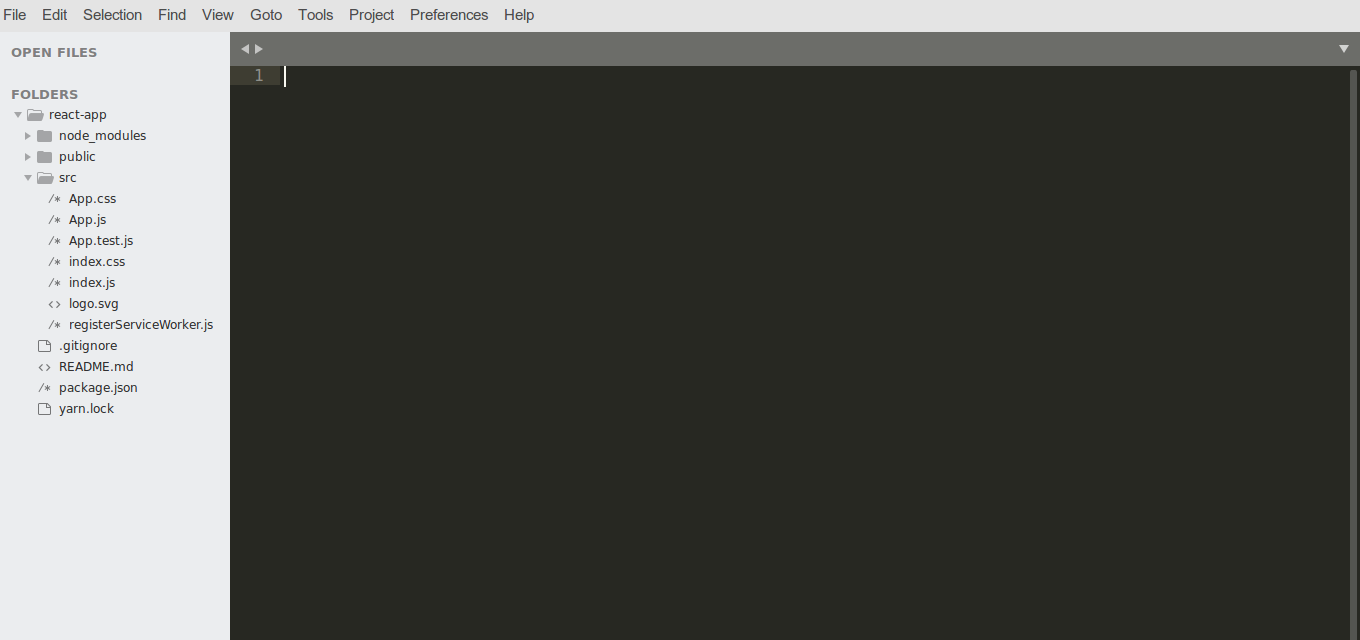
I will use create-react-app for this react application. Have a look on the folder structure for a basic react app.

Once basic app is created, now the next task is to install some dependencies in our react application.
npm i react-github-login react-ms-login --s
Once the above npm packages are installed, we need to have the client ids of github and microsoft. Before that let's have a look in the file App.js in src folder
In the above code we can see that we have left the client id part of github and microsoft. So our next step is to create the client id for github and microsoft
CREATE GITHUB CLIENT ID
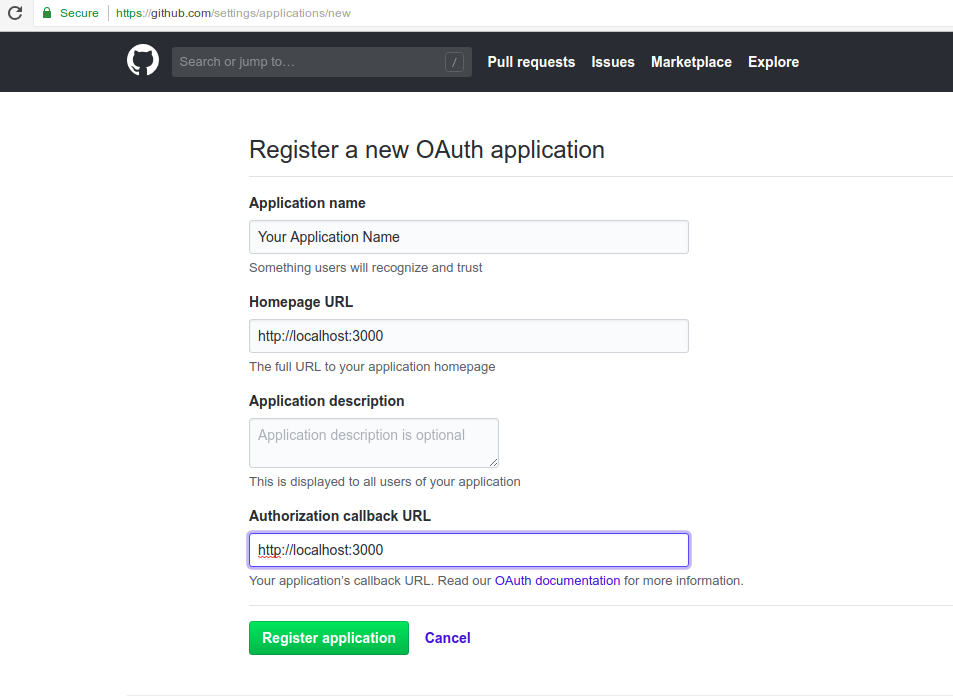
Go create a Github application, give redirect URL as your domain or localhost with port if you are trying over localhost
 .
.
One app is registered over github, you will see client id and client secret. So copy the client id in the code and set the redirect url(url where app will redirect after success login).
Now our next step is to get client id of microsoft. So Click here to go to the Microsoft page and create an application.

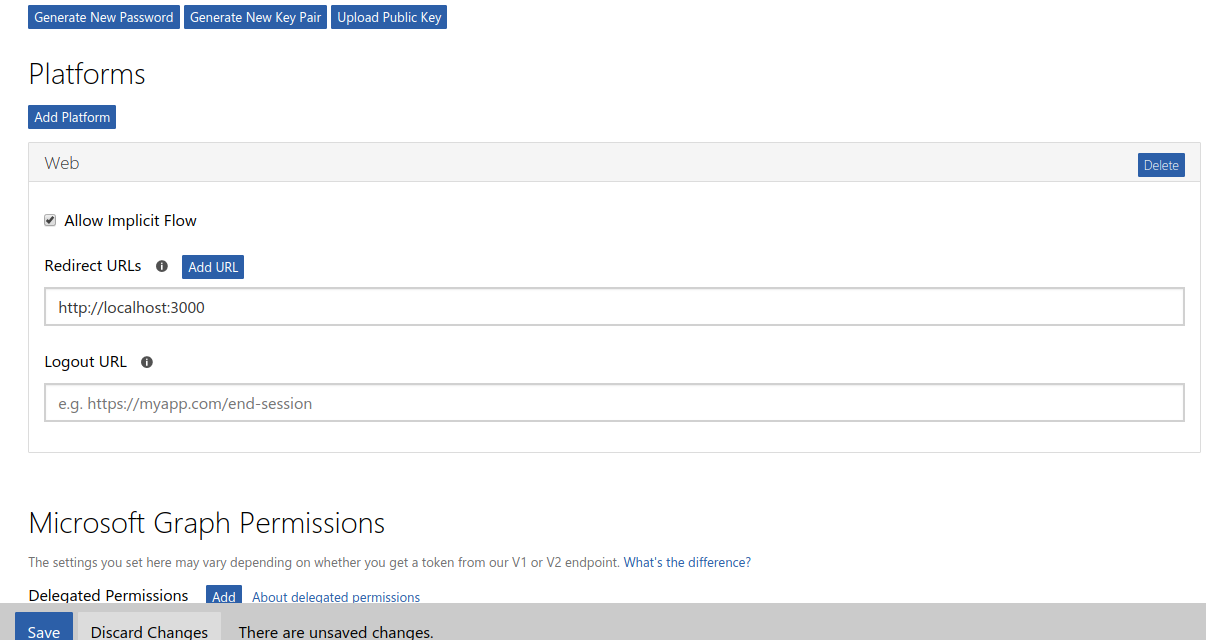
afte going over the above link you will see the page as in the image. So now click over button Add an app. After clicking over the button you will get a form to enter the Application name. Once you will submit the form microsoft will provide client id. Now copy the client id and put that into the code of our App.js file and set the redirect url. While creating the application platform of the application will be asked so choose Web option there. At the end of the application creation step you will get the page like below:

Now we have successfully created the client ids for git hub and microsoft. Finally we have completed all the steps needed the created the required demo.
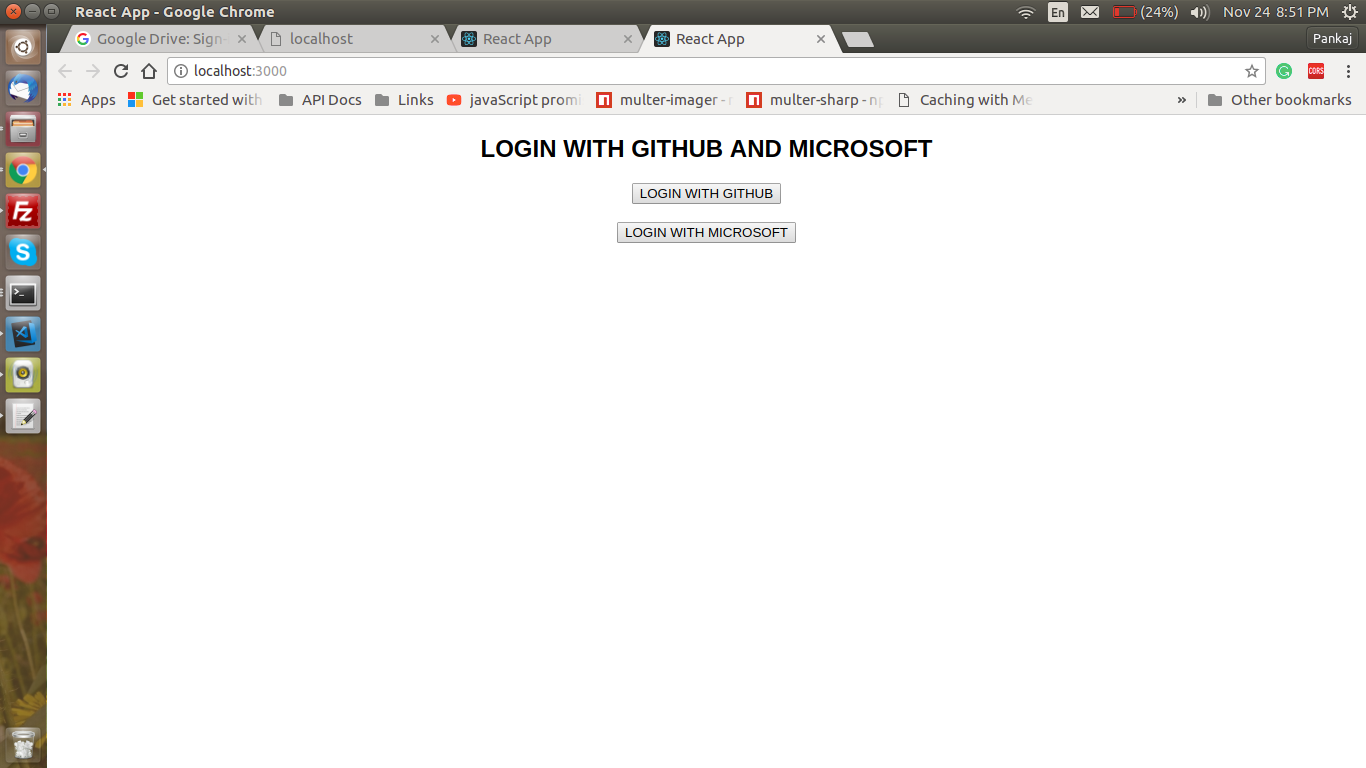
So we have to restart the app with npm start. So now we will have the below screen over the browser.

Since we have created a very basic demo, so have not created the further pages after login. You need to created page after success login and login failure.
That’s all for now. Thank you for reading and I hope this post will be very helpful for implementation of social login in reactjs application.
Let me know your thoughts over the email demo.jsonworld@gmail.com. I would love to hear them and If you like this article, share with your friends.
Find other similar Articles here:
- What are the Different way of using useEffect in React
- How to Get URL Parameters in Reactjs Application
- How to Convert React Web Application to Mobile Application
- React + Fetch - HTTP GET Request Examples
- What are the Different ways to Style React Component
- Client Side Rendering vs Server Side Rendering in Reactjs