Payment With Stripe in Node.js Application Example & Tutorial

Payment gateway, Stripe is one of the very common payment gateways which is being used in most of the applications. So today I am going to create a sample application in Node.js to integrate stripe in Node.js express application.
Here I will try to make everything very briefly to make the things clear. I am not going to use any DB or any kind of authentication while routing.
Let's Get Started
Step 1: Create a Stripe account to get the key and secret.
At first we need to create an account which we can go after navigating to https://dashboard.stripe.com/register. Once completing the registration form, We need to login to the stripe account.
After login to dashboard, We need to generate the key and secret mainly. So move to APIs section via Developers tab available at the left sidebar. From there we can get the key and secret needed in our app.
Step 2: Create Node.js project folder with needed dependencies
We need to create a basic app of nodejs with needed dependencies installed. So run below commands over terminal.
mkdir stripe-payment-nodejs-express-tutorial
cd stripe-payment-nodejs-express-tutorial
npm init --yes
npm i stripe express path pug body-parser
With the above command, we have created the Node.js project folder moved to the project folder and installed the needed package after creating package.json with NPM init.
Step 3: Create server.js file
This is the file where we will write everything in this demo app. So create a file named, server.js inside project folder and put the below code inside it.
Step 4: Create View
In the end, We are going to create the view part to show the make payment page and then show the payment confirmation page. At the project root folder, We need to create a folder name views and create two pug files inside it named index.pug and pay.pug for payment page and confirmation page respectively.
put the below code inside index.pug file.
Update data-key with your publishable key
put the below code inside pay.pug file.
Step 6: Run the app
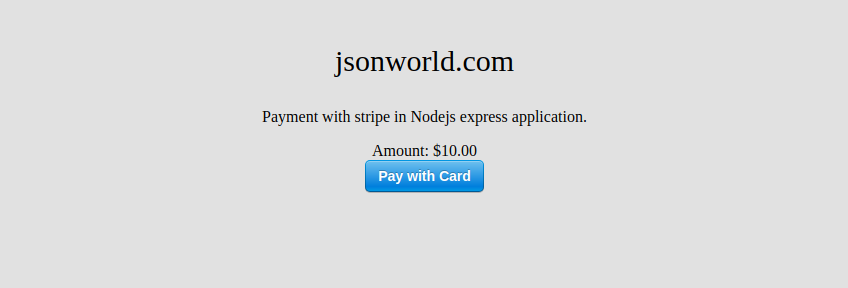
Start the Node.js server with npm start or node server.js and check the app over http:localhost:3000/. You will see page like below:

Conclusion
So in this demo, We learn to integrate stripe with Node.js express application. You can find other demos of Node.js sample application here
That’s all for now. Thank you for reading and I hope this demo will be very helpful to payment with stripe in Node.js application.
Let me know your thoughts over the email demo.jsonworld@gmail.com. I would love to hear them and If you like this article, share it with your friends.