Create Drag and Drop in Angular7 Application

Today, We will create a demo to have drag and drop functionality with angular. We will create the required demo with the help of CDK(Component Development Kit)
CDK(Component Development Kit)
It is a set of tools that implement common behaviors and components with very unique interaction styles without being opinionated about the template choices. It is a kind of abstraction of the Angular Material Library, with no styling specific to material design. It provides more efficient and unique ways to get creative while building the angular components.
Drag and Drop
It is one of the component development kit common behaviours. It contains directives that activate drag and drop functionality in angular component parts.
The @angular/cdk/drag-drop module provides us a way to easily create drag-and-drop interfaces in our application.
Let's get started
At first check the version of angular installed in your system. For drag and drop feature angular 7 is needed, So if your system is not having latest version then install it first.
Now create a new angular application with below command
ng new drag-drop-master
Once app is created successfully, then add angular module ng add @angular/material. Import the Drag Drop module in the app module so it is available for use in the Angular application.
Render Static list
Drag and Drop works mainly on list items, let’s create a list and then add the drag and drop functionality to it.
Open app.component.ts and create list like below code:
Now, In the app component HTML file, we will replace the boilerplate HTML with the ngFor command to render the above-created list.
<div *ngFor="let list of list1" >{{list}}</div>
After that we will add some css to the list item:
.pop{
height: 50px;
margin-left: 20px;
border: 1px solid #62138b;
display: flex;
justify-content: center;
align-items: center;
}
Now after serving the app, We will see a list of items over the browser.
Drag and Drop functionality
After creating the list item, Only by adding the cdkDrag directive to a list item renderer, our list items become draggable. Have a look code below:
<div *ngFor=”let list of list1” class=”pop” cdkDrag>{{list}}</div>
After adding the above code, list item becomes draggable to anywhere in the DOM, the scope can be limited to the list by wrapping it in a cdkDropList div.
<div cdkDropList>
<div *ngFor=”let list of list1” class=”pop” cdkDrag>{{list}}</div>
</div>
Sorting of items
For sorting the items within an array we need to do some extra code, cdkDropListDropped event and specifying moveItemsInArray method will bring the re-ordering to life. Let's have a look on the updated code of app.component.html.
<div cdkDropList (cdkDropListDropped)=”drop($event)”>
<div *ngFor=”let artist of artists” class=”pop” cdkDrag>{{artist}}</div>
</div>
Now add below line of code in app.component.ts file:
drop(event: CdkDragDrop<string[]>) {
moveItemInArray(this.artists, event.previousIndex, event.currentIndex);
}
The MoveItemsInArray method takes 3 parameters:
- the list array where it would do the re-ordering work
- Event.previousIndex which is the previous location of the dragged item to drop.
- Event.CurrentIndex which is the current location where the dragged item is being dropped so it can do the swap.
Moving Items throughout the two List
Now our next motive is to drag and drop a list item from one list to another list. For that we need to make some modification in our app component. Let's have a look on the app.component.html file
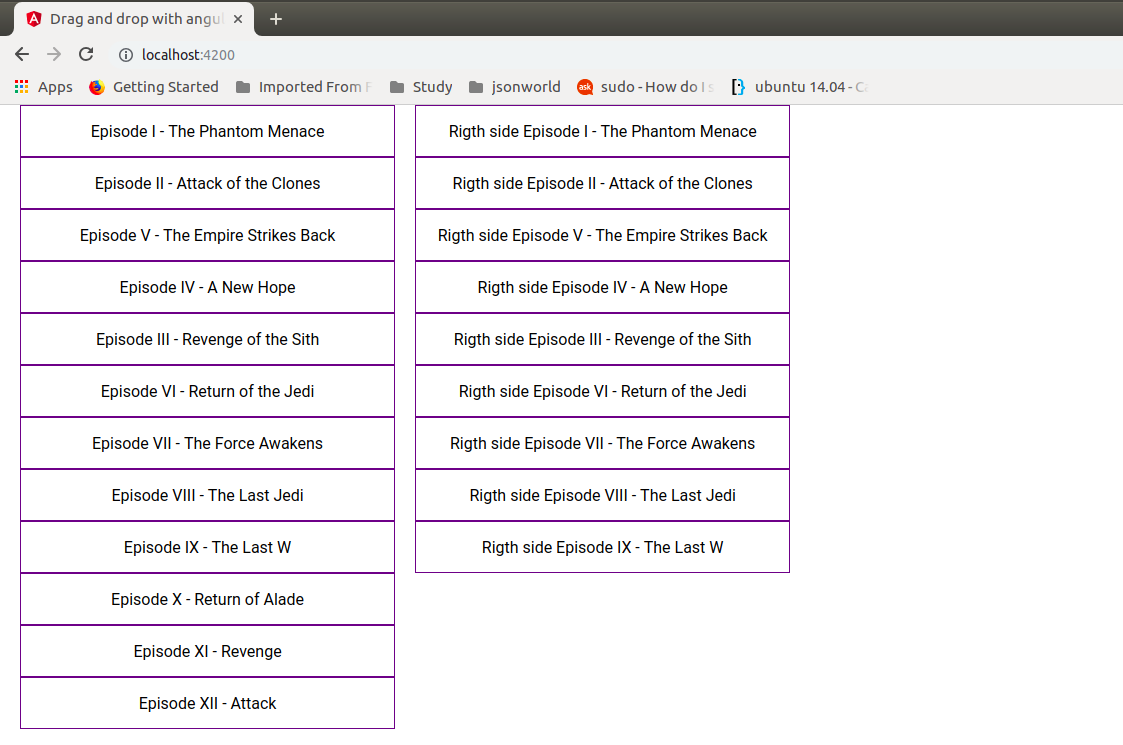
In the above code we can see, there are two list. And we wrapped the two list divs in a div and styled the display to flex so they span out separately. At last, we created IDs on the drop lists to tell Angular these are separate drop lists.
Let's have a look in app.component.ts file:
In the above code, we can see there is two list created with some static data on which drag and drop task will be performed.
Animations
At the end, we can have some transition styling to home effect while drag and drop. For that task we have used used some css code. Let's have a look code for the css inside app.component.ts
At the end after running the application over terminal, our app will look like below over the browser.
Conclusion
In this demo, we used the new Angular 7 CDK tool called drag and drop. Find the official documentation here.
That’s all for now. Thank you for reading and I hope this post will be very helpful for creating drag and drop with angular.
Let me know your thoughts over the email demo.jsonworld@gmail.com. I would love to hear them and If you like this article, share with your friends.
Find other similar Articles here:
- Different Ways to Optimize Image in Angular Application
- Display Array Items over template in Angular Application
- Use HTTP Interceptor to Set Auth Header for API Requests with Angular
- Different ways to get form data in Angular Component
- How to Add Script Dynamically in Angular Application
- How to Use Absolute Paths For Module Imports in Angular
