Child Routing In Angular Application

In this article, I will create a demo explaining all about child routing in Angular application. In Angular application, We need to set the routing and corresponding component to navigate the user through the application because Angular is a single page application and the page never loads in it.
Here I will explain how we can make the routing in angular application in a perfect way, We will see here children routing. When some routes may only be accessible and viewed within the other routes it may be appropriate to create them as child routes.
For example, The product details page may have a navigation section that shows the product details by default. When the user clicks the "Technical Specs" tab the section shows the specs instead.
If the user clicks on the product with ID 10, we want to show the product details page with the detail:
localhost:3000/product-details/10/detail
When clicking over Technical specs:
localhost:3000/product-details/10/specs
So for achieving the requirement like above, we need child routing or subroutine in angular application.
Let's Get Started
Step 1: Create angular app
Create an angular app using angular CLI command like below:
ng new angular-child-routing
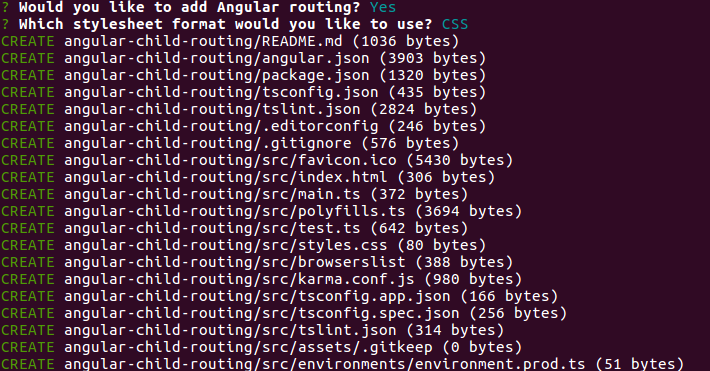
When we run this command it asks us for routing options, We have to enter yes like below:

Step 2: Create header component
Create a header component with below command:
ng g c header --spec=false
After running above command, We will add some html content for showing navigation over the header. So open the header.component.html file and put below code in it:
For simplicity I have added the cdn url of bootstrap css in index.html file under src folder. You can do it after installing NPM package, which is prefered way.
Step 2: Create Home Component
Now, Create home component using below command:
ng g c home --spec=false
After creating component we also need to add this component in the routing file. So open the app-routing.module.ts file and put the below code:
Step 3: Update app.component.html
Open app.component.html file, and put below code in it:
Step 4: Update header.component.html
Open the header.component.html file and put below code to set the path in routerLink.
Step 5: Create User module and its components
Let's create a new user module with below command:
ng g module user
Above command will create folder inside app folder named user, and a file user.module.ts. Now create components of user module.
Create it with below command:
ng g c user/user --spec=false
ng g c user/user-list --spec=false
ng g c user/user-announcements --spec=false
After it, Add user module in app.module.ts. So import user module in app.module.ts file and add in imports under @ngModule like below:
imports: [ BrowserModule, AppRoutingModule, UserModule ],
Step 6: Create a routing file for the user module.
Create a file named user-routing.module.ts file inside and put below code inside it.
After doing above task, We need to add this routing file in user.module.ts file like below:
We are done with all the steps need to create the app.
Step 7: Run the app
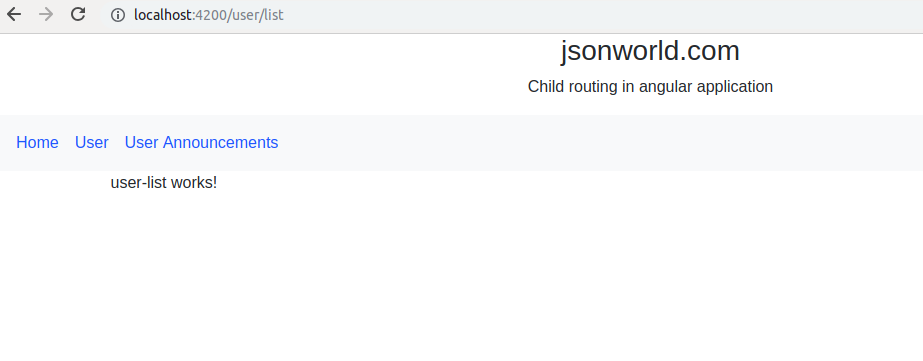
Run the app with npm start and check the app over browser with url http://localhost:4200. Page will open like below when we navigate to user list:

Conclusion
So in this demo, We learn to organize angular in module-wise with child routing, This makes our app modular. You can find other demos of Angular sample Application
That’s all for now. Thank you for reading and I hope this demo will be very helpful to create Angular module-wise and set child routing to make the code clean.
Let me know your thoughts over the email demo.jsonworld@gmail.com. I would love to hear them and If you like this article, share it with your friends.
Thanks!
Find other similar Articles here:
- Different Ways to Optimize Image in Angular Application
- Display Array Items over template in Angular Application
- Use HTTP Interceptor to Set Auth Header for API Requests with Angular
- Different ways to get form data in Angular Component
- How to Add Script Dynamically in Angular Application
- How to Use Absolute Paths For Module Imports in Angular