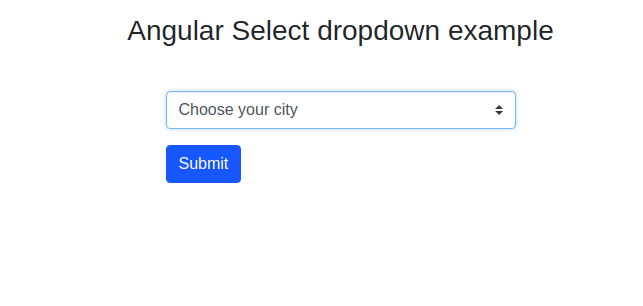
Angular 9|8|7 Select dropdown example with Reactive Form

In this article, I am going to explain about Select dropdown in Angular reactive forms.
Let's Get Started
Step 1: Create New Angular app
At first create a new angular app with below command on terminal/command promp.
ng new angular-select-dropdown
Step 2: Inject Reactive Form within the app
Step 3: Update app.component.ts file
In this file, we will write all the logical task needed to do, like creation of dummy country list, form initialization, getter method for accessing form control etc. update app.component.ts file with below code.
Step 4: Update template(app.component.html)
I have used the bootstrap framework of CSS, Add CDN of bootstrap in index.html file inside the src folder.
Step 5: Run the app
Now run the app with npm start and check the app on browser over URL http://localhost:4200

If you want to add validation in Reactive Form. Read my article to get detail about Angular Reactive Form Validation
Conclusion
Working with Form controls in Angular Reactive forms is easy and nowadays Reactive form is more preferred than templated driven form.
Thanks for reading this article. If you are new to Angular then click here find many sample projects to start the app for enterprise-level application
Let me know your thoughts over email demo.jsonworld@gmail.com. I would love to hear them and If you like this article, share it with your friends.
Find other similar Articles here:
- Different Ways to Optimize Image in Angular Application
- Display Array Items over template in Angular Application
- Use HTTP Interceptor to Set Auth Header for API Requests with Angular
- Different ways to get form data in Angular Component
- How to Add Script Dynamically in Angular Application
- How to Use Absolute Paths For Module Imports in Angular