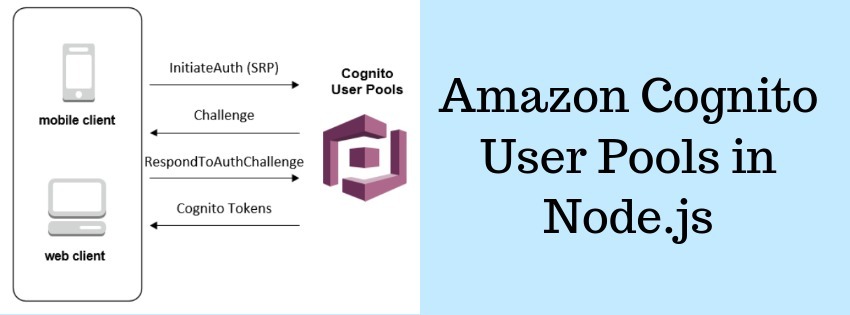
Amazon Cognito User Pools In Node.js Application
As a developer, It is very important to make the application secure. And when we talk about security in any application then user authentication or user management comes at first. And of course, it is one of the challenging tasks for the app developer to secure the data and protect the app with any kind of hacking.
Nowadays, There are so many platforms available which simplify the task of user authentication. A developer doesn't need to think about the user authentication stuff while using these third-party APIs of user authentication. For user authentication task very common third-party service providers are auth0, AWS cognito, Firebase Auth, etc. So we will discuss all about <strong>Amazon Cognito User Pools integration in Node.js </strong>.
Today we will discuss AWS cognito integration in Node.js Application. Amazon Cognito simplifies the user authentication, user authorization and user management for the developer. It provides APIs for login, register, forgot password and other user management based on Oauth2 specification. APIs of Amazon Cognito supports all the popular platforms related to mobile and web.
When we enter inside amazon Cognito section, We see two categories there:
User Pools: It is an identity provider. We can use this to authenticate users to the mobile app, website and manage users which we will discuss in detail in this article.
Identity Pools: Identity pools are used to authorize users to give access to AWS resources such as IAM, S3 and etc.
Let's Get Started to setup User pools
At first, Need to login into AWS account and go to cognito. It is necessary to have a AWS account for using Amazon cognito.
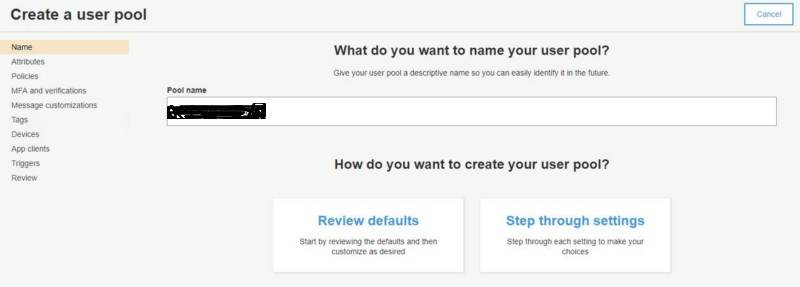
Step 1. Name the pool
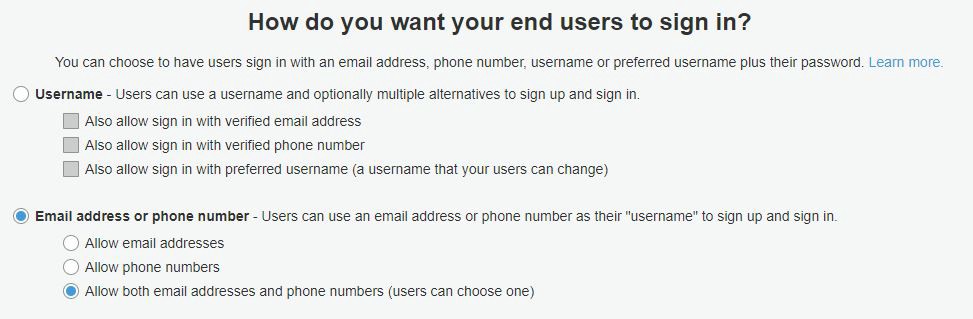
Step2: Choose the authentication method for user either email or phone.
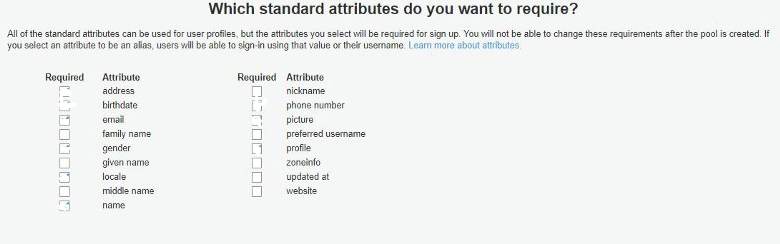
Step 3: Set attributes want to require.
Step 4: Choose signup criteria.
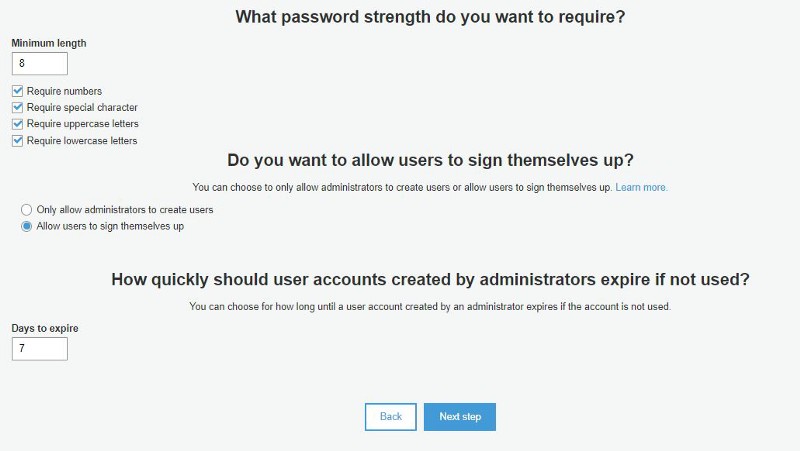
Step 5: Setup multi-factor authentication settings.
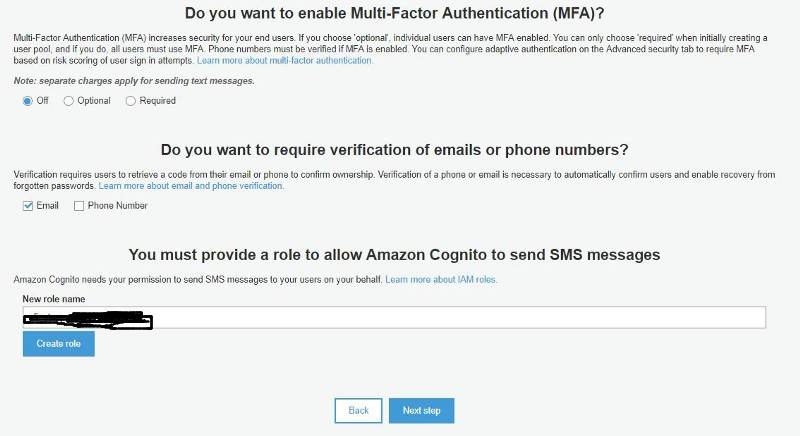
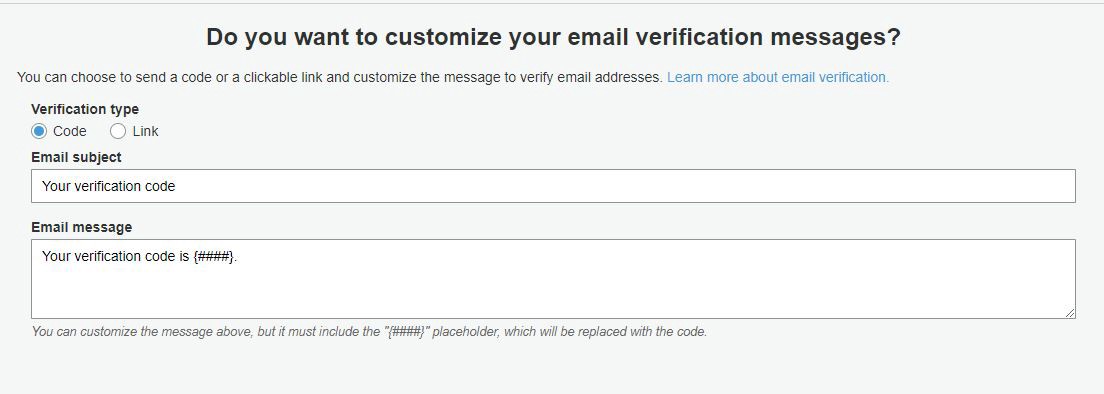
Step 6: Set the user authentication method, When user registers then he will get an email to verify the account.
After that you will get some steps which is optional so skip these steps or press next step.
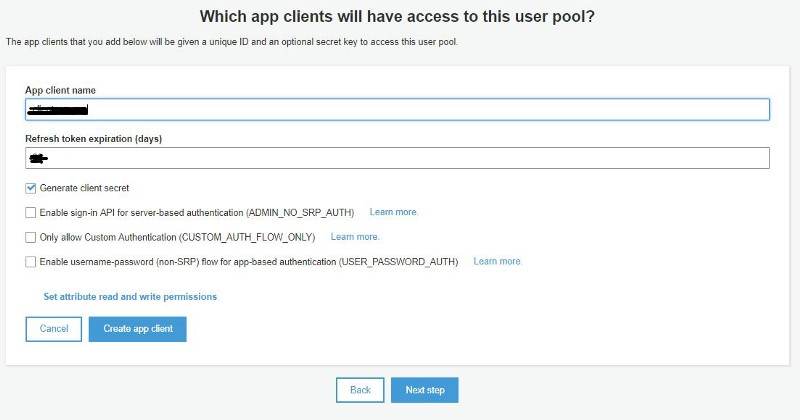
Step 7: Add an app client. The app client generates an app client Id and it’s used to access the pool from Node.js code. Just uncheck the “Generate client secret” option.
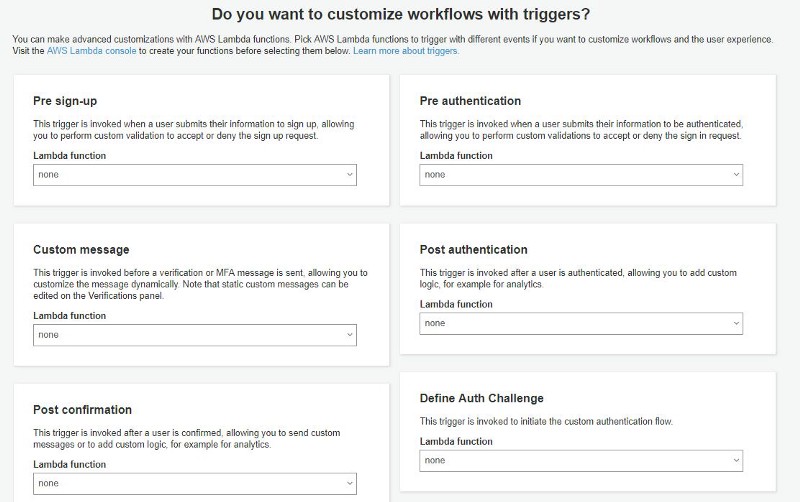
Step 8: If it is needed to execute any defined lambda functions at any point of auth flow, it can be specified those here. Skip it if not needed.
Step 9: Review all and create the user pool.
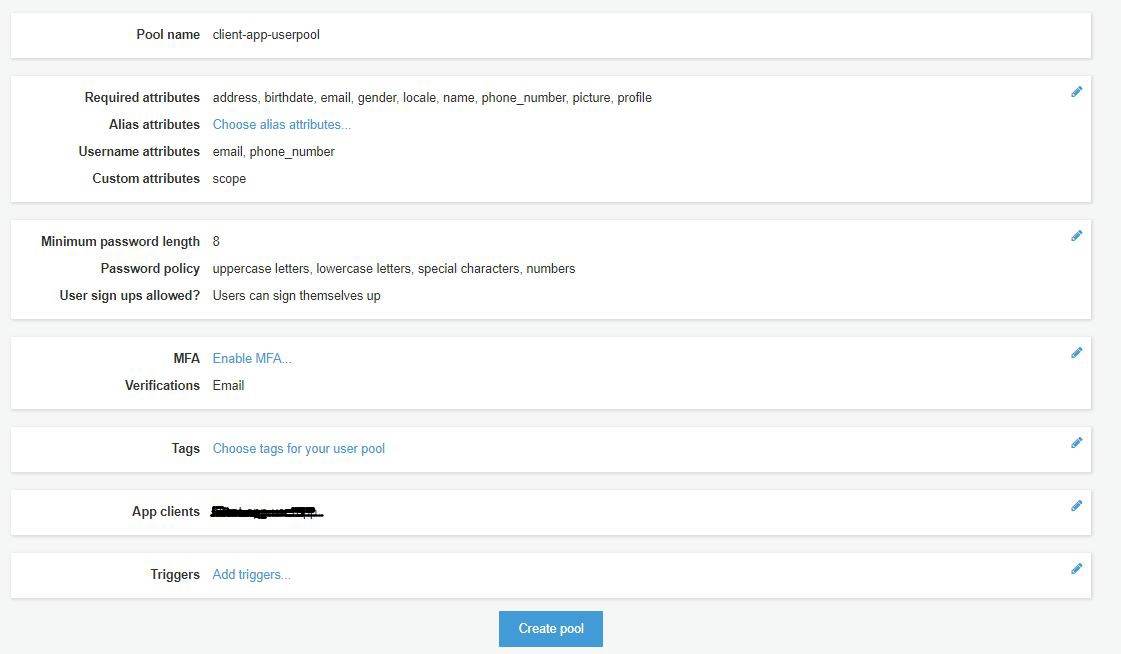
Now finally we have completed all the steps needed to create the user pool. No we can go to pool overview section to get pool id, Go to app client to retrieve the app client id. Now note down the pool region, pool id and app client id, which will be needed at code settings sections.
Step 10. package needed to install for AWS Cognito in Node.js app
amazon-cognito-identity-js
aws-sdk
jsonwebtoken
node-fetch
These are the packages we need in our Nodejs application. after installing these we need to update the configurations in the code.
Now I am going to list below the logical code for different basic user related APIs. For complete source code, Please download it from the bottom of this page.
Code for user registration API:
Code for user verification API:
Code for Login API:
Code for change Password API:
Code for forgot password request:
Code for reset password API:
As I mentioned above also, Download complete source code from this page to get everything working.
Conclusion
So in this demo, We learn to create user pool and integration with Node.js express application. You can find other demos of Node.js sample application here
That’s all for now. Thank you for reading and I hope this demo will be very helpful to understand Amazon Cognito User Pools integration in Node.js .
Let me know your thoughts over the email demo.jsonworld@gmail.com. I would love to hear them and If you like this article, share with your friends.
Find other similar Articles here:
Other Articles
-
 Nodejs Cluster Module | Performance Optimization
-
Cron Job with NodeJS
-
Upload files to server using Node.js ejs template and Multer package
-
File upload using angularjs and nodejs multer module
-
Send email using angularjs and nodejs nodemailer module
-
Nodejs auth app using passport local and ejs template
-
Twitter authentication using nodejs ejs template and mysql
-
Github Authentication using Nodejs
-
Authenticate API Using JWT(Token Based) in NodeJS
-
How to Convert Excel to Json in Nodejs Application
-
Server Side Pagination with Nodejs and MongoDB
-
Login with Facebook in Node.js Express Application
-
Start Creating API in NodeJS with Mongodb Using Express Framework
-
Download remote server files using Node.js
-
Create Restful API with nodejs and mysql database
-
Paypal Integration in Nodejs Application
-
How to Submit Form with Ajax in NodeJS App
-
Twillio Direct Audio call integration with Nodejs Express
-
Implementing Google reCAPTCHA in Node.js Application
-
Angular6 CRUD Application with NodeJS and Mongodb
-
Start Working with Promises in Node.js
-
How to Resize Image in NodeJS
-
How to Implement Memcached in Nodejs Application
-
Login with Google in Node.js Application
-
Login with LinkedIn in NodeJS Application
-
Angular7 CRUD with nodejs and mysql example
-
Payment With Stripe in Node.js Application Example & Tutorial
-
Caching with Redis in Node.js Application
-
Start Working with Voice Driven Application with Nodejs
-
How to upload base 64 image in Nodejs Application
-
Start Creating APIs in Node.js with Async/Await
-
Video Streaming with Node.js
-
Integrate CardConnect Payment with Node.js
-
How to connect Nodejs with PostgreSQL
-
Uploading file with React.js and Node.js
-
Testing NodeJS API with Mocha and Chai
-
Create Basic Nodejs Express App using Jade Template
-
User Authentication In Node.js Application
-
Node.js Event Loop Explained
-
Most Popular Node.js Frameworks
-
5 Most Popular Hacking Tools
-
Best Practices for NodeJs App Developer
-
Best Sites Built With Node.js
-
How To Zip And Download Files In Nodejs
-
How To Merge PDF Files In Node.js Application
-
How To Send Email Using SendGrid In Node.js Application
-
How To List All The Globally Installed NPM Packages
-
How To Enable Cors In Node.js Express
-
How To Download File From Node.js Server
-
How To Convert Text To Speech In node.js
-
Serve Static Files In Node.js
-
How To Optimize Performance With GZIP Compression
-
How To Handle Cookies In Node.js Express App
-
Enable HTTPS in Node.js Express Application
-
Update Package Version in Package.json
-
Nodejs vs Golang
-
How to Setup a Simple HTTP Server/ Local Web Server with NodeJS
-
What is Deno? How it is different from Node.js?
-
Most Useful NodeJS Libraries a Nodejs Developer Should Know
-
Read and Write Data to Local JSON File with NodeJS
-
How to secure NodeJS REST API from Attacks
-
How to Delete Files in Node JS
-
What is NPM?
-
Explain Callback Function in NodeJS
-
Most Common AWS Services a NodeJS Developer Should Know
-
How to Prevent SQL Injection in a NodeJS API